Enquiry

DIY Guide: How to Clean Your Washing Machine for Optimal Performance and Longevity


Regular cleaning of your washing machine is essential to maintain its efficiency and longevity. Over time, dirt, grime, and detergent buildup can accumulate inside the machine, leading to unpleasant odors, clogged drains, and potential damage to clothes. To prevent these issues, it’s important to follow a regular cleaning routine. Start by cleaning the drum of the washing machine. Fill it with hot water and add either a cup of white vinegar or baking soda. Let the machine run on the highest temperature setting for a few minutes to remove any accumulated dirt or grime. Next, clean the detergent dispenser, which can also harbor dirt and grime, contributing to bad odors. Remove the dispenser and wash it in hot, soapy water, using a toothbrush to scrub away stubborn buildup. Many washing machines have a filter that needs regular cleaning. Consult your user manual to locate and remove the filter, then wash it in hot, soapy water to remove any dirt or debris. The rubber seal around the door of the washing machine can also collect dirt and grime, leading to potential mold and mildew growth. Use a damp cloth and mild detergent to thoroughly clean the seal, ensuring it’s completely dry afterward. Some washing machines offer a self-cleaning cycle for thorough cleaning. Follow the instructions in your user manual to run this cycle if available. To prevent future buildup, use less detergent than recommended and run the machine on the hottest water temperature setting possible. Additionally, leaving the door open after each use allows air to circulate, preventing mold and mildew growth. By following these steps for regular maintenance, you can keep your washing machine clean, odor-free, and functioning efficiently, ultimately extending its lifespan and avoiding costly repairs.

Your washing machine is one of the hardest-working appliances in your home, and it is easy to overlook the importance of keeping it clean. Over time, dirt, grime, and detergent buildup can accumulate in your washing machine, leading to bad odors, clogged drains, and even damage to your clothes. Regular cleaning of your washing machine can prevent these problems and help extend the life of your appliance.

Here is a DIY guide on how to clean your washing machine:

Clean the drum
Start by cleaning the drum of your washing machine. Fill the drum with hot water and add a cup of white vinegar or a cup of baking soda. Let the machine run for a few minutes on the highest temperature setting. This will help remove any dirt or grime that has accumulated inside the drum.

Clean the detergent dispenser
The detergent dispenser can also accumulate dirt and grime, which can lead to bad odors. Remove the dispenser and wash it in hot, soapy water. Use a toothbrush to scrub away any stubborn buildup.

Clean the filter
Many washing machines have a filter that needs to be cleaned regularly. Check your user manual to locate the filter and learn how to remove it. Once you have removed the filter, wash it in hot, soapy water and scrub away any dirt or debris.

Clean the rubber seal
The rubber seal around the door of your washing machine can also collect dirt and grime. Use a damp cloth and a mild detergent to clean the seal thoroughly. Be sure to dry the seal completely to prevent mold and mildew growth.

Run a cleaning cycle
Some washing machines have a self-cleaning cycle that you can run to clean the machine thoroughly. If your machine has this feature, follow the instructions in your user manual to run the cycle.

Prevent future buildup
To prevent future buildup in your washing machine, use less detergent than recommended and run the machine on the hottest water temperature setting possible. You can also leave the door open after each use to allow air to circulate and prevent mold and mildew growth.

Regular cleaning of your washing machine is essential for its longevity and to ensure it runs efficiently. By following these simple steps, you can keep your washing machine clean and prevent any damages that may occur due to dirt or grime buildup.

Image by Freepik

Keep Your TV and Remote Control in Top Condition with These 6 Maintenance Tips

Television and remote controls are essential household devices prone to dirt accumulation, which can affect performance. Proper care is crucial for their longevity and efficiency. Here’s a concise guide: Gently wipe the TV screen with a microfiber or soft cloth, avoiding water or harsh cleaners. Use a soft cloth or cotton swab with mild detergent or rubbing alcohol for thorough cleaning. Avoid dropping or hitting the remote to prevent internal damage. Protect the remote from moisture and liquids to prevent internal damage. Safeguard your TV from power surges with a surge protector. Wipe the TV’s exterior with a soft cloth to remove dust and dirt, avoiding harsh cleaners. Regular cleaning and maintenance ensure the longevity and optimal performance of your television and remote control. By following these simple tips, you can avoid potential damage and enjoy your devices for years to come.

Television and remote control are two of the most used electronic devices in our homes. With regular use, they tend to accumulate dirt, grime, and other particles that can damage the devices and affect their performance. It is important to take care of your television and remote control periodically to ensure that they last longer and function efficiently.
Here are some tips on how to take care of your television and remote control to avoid damage.
Clean the screen:
The screen of your television can accumulate dust, fingerprints, and other particles. To clean the screen, use a microfiber cloth or a soft cloth and gently wipe the screen in a circular motion. Avoid using water or any harsh cleaning solutions as they can damage the screen.
Clean the remote:
The remote control can accumulate dirt, grime, and other particles from frequent use. To clean the remote, use a soft cloth or a cotton swab and gently wipe the remote’s surface. You can also use a mild detergent or rubbing alcohol to clean the remote.
Avoid dropping or hitting the remote:
Dropping or hitting the remote can damage the internal components of the remote. Be careful while handling the remote and avoid dropping or hitting it.
Keep the remote dry:
Water or any other liquid can damage the internal components of the remote. Keep the remote away from water or any other liquids.
Protect the TV from power surges:
Power surges can damage the internal components of your television. Use a surge protector to protect your TV from power surges.
Keep the TV clean:
The exterior of your television can accumulate dust, dirt, and other particles. Use a soft cloth and gently wipe the TV’s surface. Avoid using any harsh cleaning solutions or water.
By following these simple tips, you can take care of your television and remote control and avoid any potential damage. Regular cleaning and maintenance can help to extend the life of your devices and ensure that they function efficiently for years to come.

Image by pch.vector on Freepik

6 Easy Steps to Clean Your Refrigerator and Avoid Damages

Regular cleaning is vital for maintaining the efficiency and lifespan of your refrigerator, a crucial household appliance. Here’s a concise guide on how to clean your refrigerator effectively: Remove all food items and store them in a cooler to maintain freshness during cleaning. Take out shelves and drawers and wash them with warm, soapy water to remove dirt and spills. Use a toothbrush for stubborn stains. Use a solution of warm water and mild detergent to clean the walls, ceiling, and floor of the fridge. Wipe down spills and stains, and scrub stubborn dirt with a brush. Wipe the door gasket with warm, soapy water to remove dirt and grime. Dry it thoroughly to prevent mold growth. Clean the exterior of the fridge with a damp cloth and mild detergent, then dry it thoroughly. Use a vacuum or brush to remove dust and debris from the condenser coils at the back of the fridge, ensuring optimal performance. Regular cleaning and maintenance ensure your refrigerator functions efficiently and keeps your food fresh and safe to eat. By following these simple steps, you can avoid potential damage and enjoy a well-maintained fridge for years to come.

A refrigerator is one of the most important appliances in our homes, keeping our food fresh and safe to eat. However, with regular use, it can accumulate dirt, grime, and other particles that can damage the fridge and affect its performance. It is important to clean your refrigerator periodically to ensure that it lasts longer and functions efficiently.
Here are some tips on how to clean your refrigerator to avoid damage.
Empty the fridge:
Before you start cleaning your refrigerator, it is important to empty it completely. Remove all the food items and store them in a cooler or a temporary fridge to keep them fresh.
Remove the shelves and drawers:
The shelves and drawers in your refrigerator can accumulate dirt, spills, and other particles. Remove them from the fridge and wash them with warm soapy water. Use a toothbrush or a small brush to scrub any stubborn dirt or grime.
Clean the interior:
Once you have removed the shelves and drawers, it’s time to clean the interior of the fridge. Use a solution of warm water and mild detergent to clean the walls, ceiling, and floor of the fridge. Make sure to wipe down any spills or stains, and use a toothbrush or a small brush to scrub any stubborn dirt or grime.
Clean the door gasket:
The door gasket, which seals the fridge door, can also accumulate dirt and grime. Use a solution of warm water and mild detergent to clean the gasket. Make sure to dry it thoroughly afterward to prevent any mold or mildew growth.
Wipe down the exterior:
The exterior of your fridge can also accumulate dirt, dust, and other particles. Use a damp cloth and mild detergent to wipe down the fridge. Make sure to dry it thoroughly afterward.
Check the condenser coils:
The condenser coils, located at the back of the fridge, can accumulate dust and dirt over time. Use a vacuum or a brush to clean the coils and ensure that they are free from debris.
By following these simple tips, you can keep your refrigerator clean and avoid any potential damage. Regular cleaning and maintenance can help to extend the life of your fridge and ensure that it functions efficiently for years to come.

Image by goonerua on Freepik

DIY Guide: How to Clean Your Air Conditioning Unit for Improved Efficiency and Lifespan

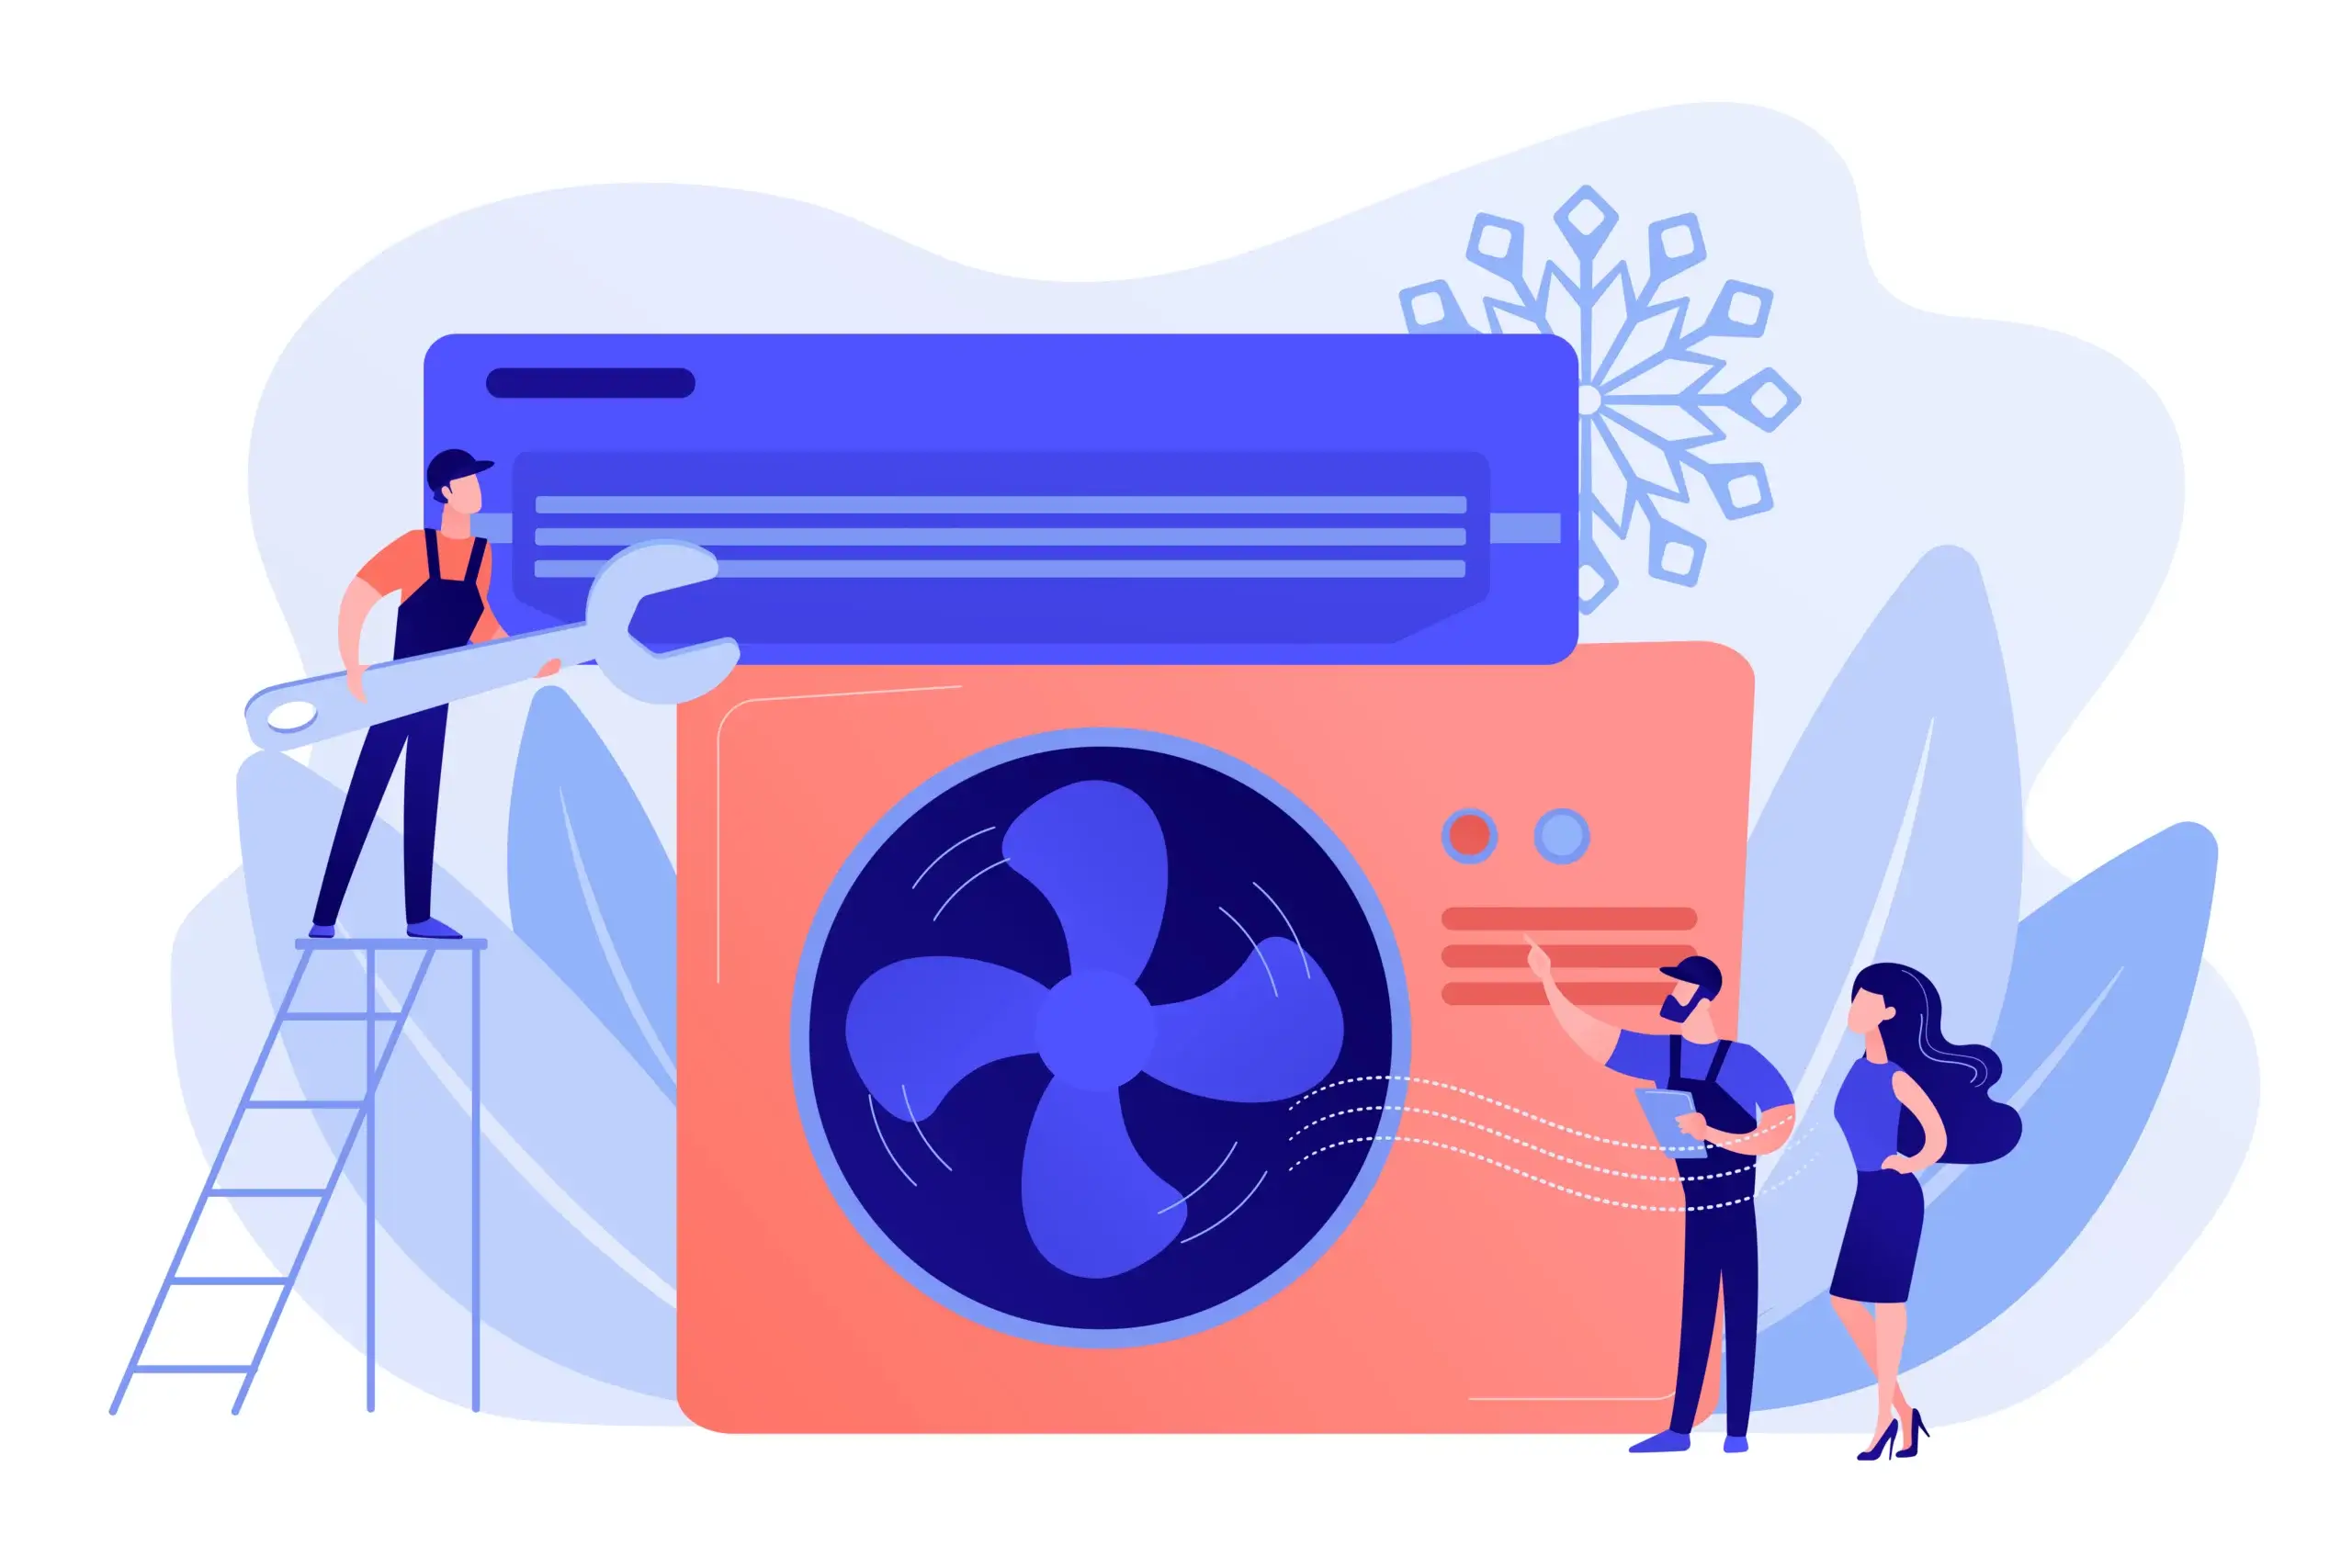
Regular maintenance is essential for maximizing the efficiency and lifespan of air conditioning (AC) units. While professional HVAC technicians are best suited for thorough cleaning, homeowners can perform some maintenance tasks themselves to ensure their AC units remain in peak condition. Always prioritize safety by switching off the power to the unit to avoid electrical damage during cleaning. Clean or replace the air filter to maintain airflow and efficiency, ensuring it remains free from dust and debris. Use a soft brush or vacuum to gently clean the evaporator coil, removing dirt without causing damage to the delicate fins responsible for heat absorption. Clear away debris such as leaves and dirt from the condenser coil by spraying it with a garden hose from the inside out to maintain optimal heat exchange. Utilize a fin comb to straighten any bent fins on both the evaporator and condenser coils, allowing for unrestricted airflow. Remove accumulated dirt or debris from the fan blades with a wipe or brush to ensure proper airflow. Ensure the drainage system is clear of blockages to prevent water damage and mold growth. Following these self-cleaning guidelines can help homeowners improve the efficiency and longevity of their AC units. However, if uncertain about any cleaning steps, seeking professional assistance is advisable to ensure thorough and safe maintenance. Regardless of who performs the maintenance, regular upkeep is crucial for optimal AC performance and cost-effective operation.

When it comes to keeping your air conditioning unit running smoothly, regular maintenance is key. One of the most important maintenance tasks you can do is cleaning the AC unit. While it’s always best to have a professional HVAC technician clean your unit, if you’re confident in your DIY skills, you can clean your AC at home.

Here are some things to keep in mind while self-cleaning your AC:

Turn off the power: Before you start cleaning your AC, make sure to turn off the power to the unit. This will ensure that you don’t accidentally damage any electrical components while cleaning.

Clean the air filter: The air filter is one of the most important components of your AC unit. It collects dust and other particles from the air, which can reduce the efficiency of your unit. Remove the air filter and clean it with soap and water or replace it with a new one if it’s too dirty or damaged.

Clean the evaporator coil: The evaporator coil is responsible for absorbing heat from the air, so it can become dirty over time. Use a soft brush or a vacuum cleaner with a soft brush attachment to gently clean the evaporator coil. Be careful not to damage the delicate fins on the coil.

Check the condenser coil: The condenser coil is located outside and can become dirty from debris such as leaves and dirt. Use a garden hose to gently spray the condenser coil from the inside out to remove any debris.

Check the fins: The fins on the evaporator and condenser coils are delicate and can become bent or damaged easily. Use a fin comb to straighten any bent fins to ensure that air can flow freely through the coils.

Clean the fan blades: The fan blades can also become dirty and reduce the efficiency of your unit. Use a soft cloth or brush to clean the fan blades and ensure they’re free from any debris.

Check the drainage: Make sure that the drainage system is clear and free from any blockages. Use a vacuum or a pipe cleaner to remove any dirt or debris from the drain line.


In conclusion, self-cleaning your AC unit can help improve its efficiency and prolong its lifespan. However, if you’re unsure about any of the cleaning steps, it’s best to consult with a professional HVAC technician to ensure that your unit is cleaned properly and safely.

Image by vectorjuice on Freepik

Planning To Sell Old AC: 3 Common AC Issues

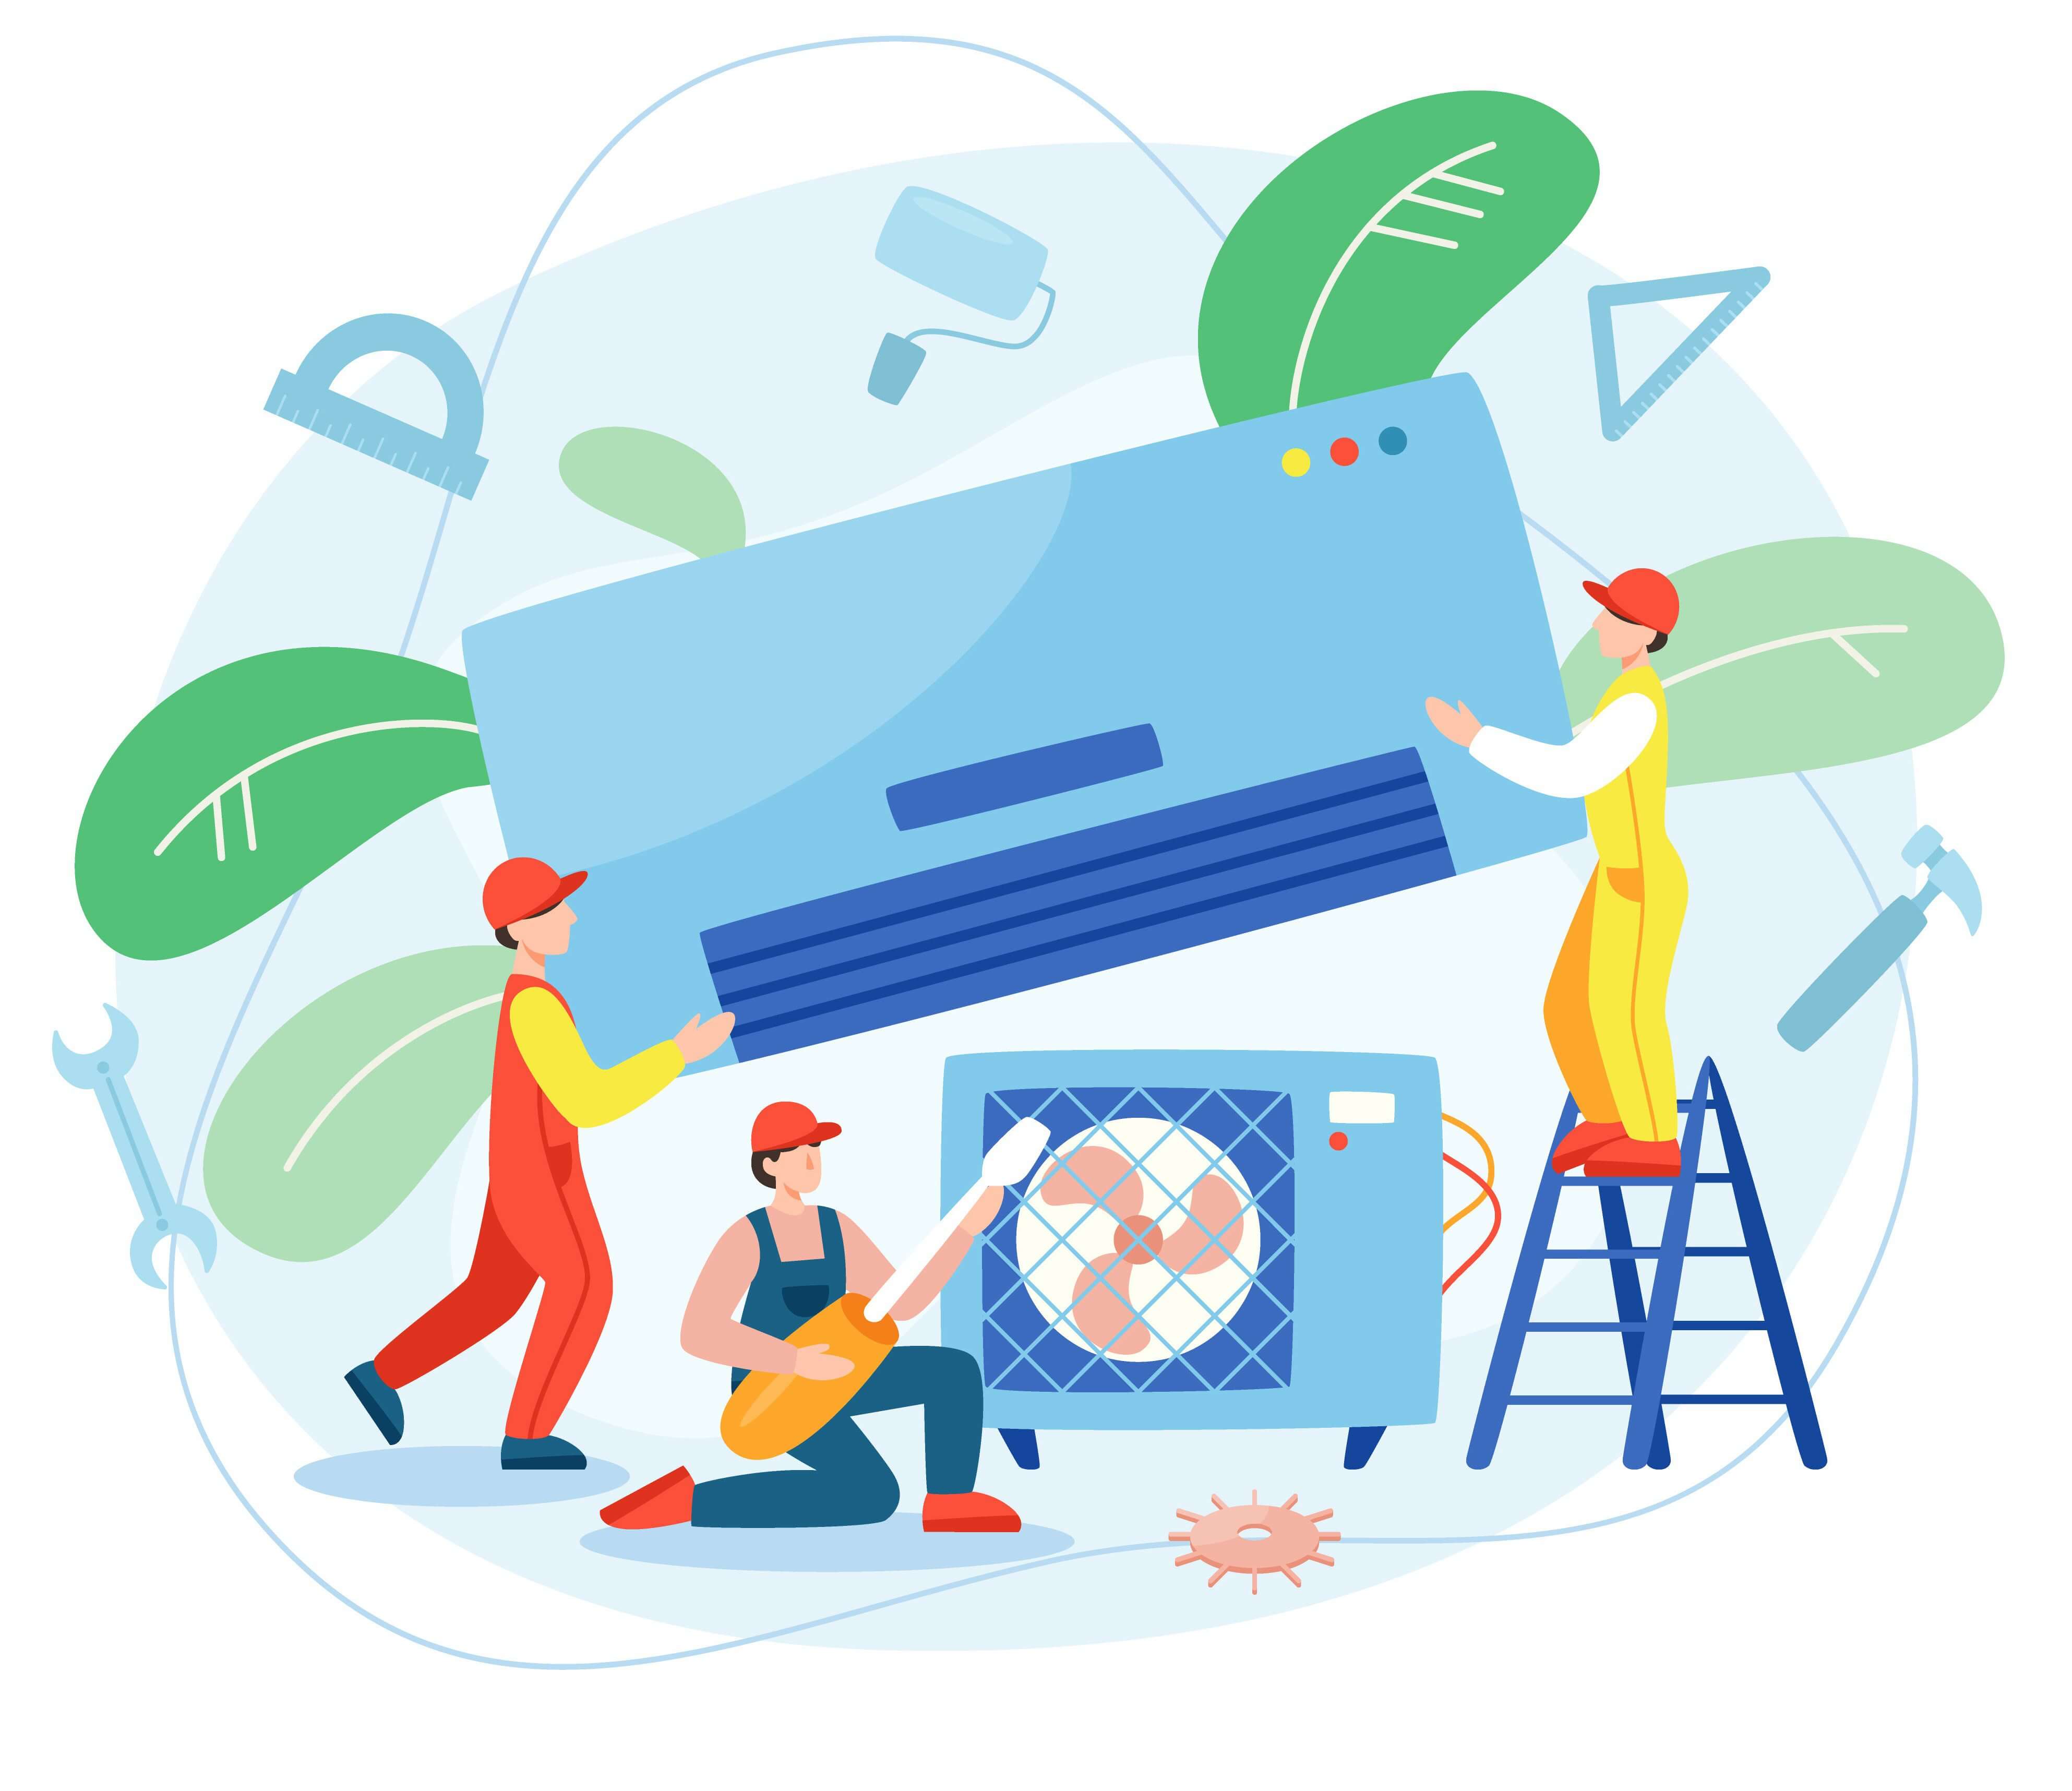
      Common AC issues, like refrigerant leaks, dirty coils, and electrical malfunctions, range from minor inconveniences to costly repairs, often requiring professional help. Recognizing signs of trouble is crucial for minimizing expenses, with replacing and selling the old AC sometimes proving more cost-effective. Extended cooling times and frosty ice on the evaporator coil signal a leak. Noisy operation and increased electricity bills suggest a worn-down system, prompting consideration of replacement. Neglecting coil cleaning leads to dust accumulation, potentially causing damage and compromising air quality. Regular cleaning maintains performance and indoor air quality. AC shutdowns or tripping circuit breakers may indicate issues like damaged wiring or faulty components, requiring prompt attention to prevent further damage. Common electrical malfunctions include unexpected shutdowns, damaged wiring, circuit board failures, and faulty capacitors. Regular use can lead to decreased performance despite repairs. Selling the old appliance on websites offering fair prices or replacing it ensures improved technology, smoother operation, lower electricity bills, and hassle-free living. Promptly addressing AC issues and considering replacement when necessary minimizes disruptions and maintains a comfortable indoor environment efficiently.

Air conditioners are essential for living comfortably during the hot summer months, but they can also be a source of frustration when they are not working correctly.

Common AC problems include refrigerant leaks, dirty coils, or electrical malfunctions. These issues range from minor inconveniences to major repair bills, often requiring professional attention. It is important to know the signs of an AC problem so that you can take action quickly and minimize expensive repairs or you should rather replace and sell your old AC  because it will only cost you more expenses.

Common AC Problems:

Refrigerant Leak: If your AC takes longer to cool than usual, you must check for any leakage. Some of the signs of a refrigerant leak can be observed on your outdoor air conditioning unit. If you see frosty ice crystals forming on the evaporator coil during hot weather, it’s time to call for service. Once your system is worn down you will also notice your AC starts getting noisy which also leads to excessive electricity bills this is the time you consider selling your old AC and buying a new one rather than spending a fortune on repairing the old

Dirty Coils: If you do not clean the AC coils on time, you might end up stuffing your AC with dirt. As the evaporator coil is located inside and is not visible on the outside, you do not notice how much dust has been collected on the inside. Thick layers of dirt and dust can lead to internal damage to the AC and also to the consumers breathing the filthy air. To keep your air conditioning system in a good condition it is necessary to clean the evaporator coils.

Electrical Malfunctions: If your AC keeps turning off or if AC is tripping the circuit breaker, you should check the port with other appliances if it is still causing the same issue. Damaged electrical wires, faulty circuit boards, and incorrect voltages can all cause damage to your AC.

Common Electrical Malfunctions in AC are:

  1. AC is turning off unexpectedly or is tripping the circuit breaker
  2. AC has faulty or damaged wiring
  3. AC circuit board failure
  4. Faulty AC capacitor


Regular use of any appliance reduces its performance further leading to repairs and problems. Even after multiple repairs, your system refuses to function smoothly you must consider selling it as there are many websites where you can sell your old appliance for a good price. Replacing old appliances has benefits such as upgraded technology, smooth functioning, adequate electricity bills, and hassle-free living.

× How can I help you?